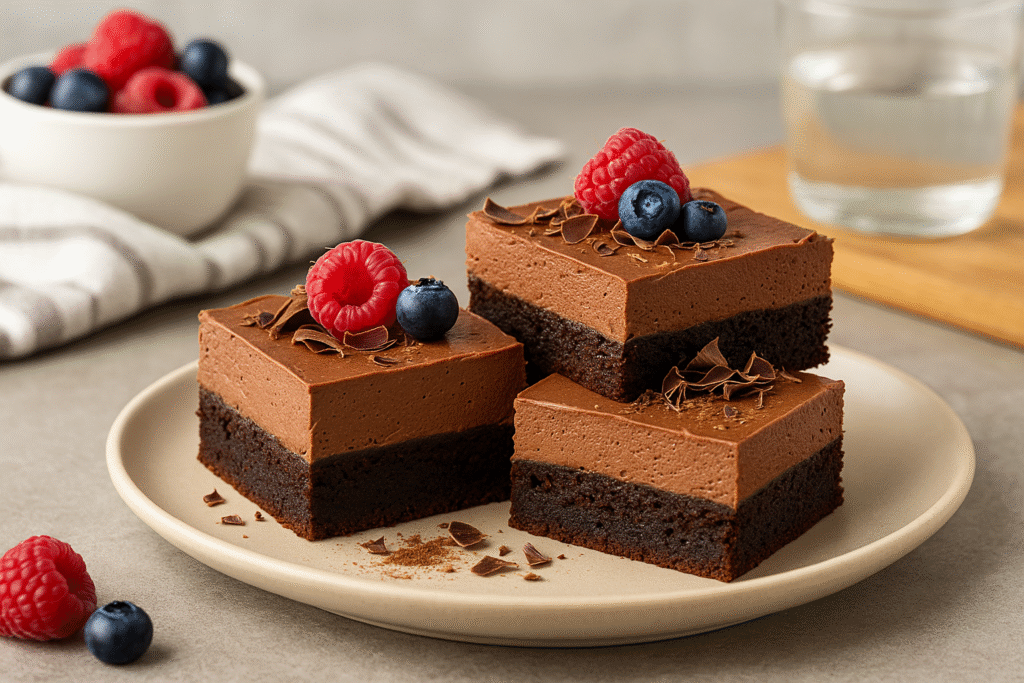
If you’re searching for a dessert that combines the best of rich chocolate and creamy mousse, these Chocolate Mousse Brownies are about to become your new favourite. Imagine a fudgy, decadent brownie base topped with a silky, fluffy chocolate mousse—every bite is a perfect blend of textures and flavours. Whether you’re planning a family gathering, looking for a birthday treat, or just want something indulgent to satisfy your sweet tooth, this recipe fits the bill. The layers are simple to put together, but the result looks and tastes like you spent hours in the kitchen. With each slice, you’ll enjoy the deep cocoa flavour of homemade brownies paired with the light, airy sweetness of mousse. These brownies are a showstopper at potlucks and celebrations, and they make an impressive homemade gift, too. Even better, you can prepare them ahead of time, letting the mousse set perfectly in the fridge before serving. If you love making desserts that make people say “wow!” with their first bite, you’ll love adding this recipe to your collection. And don’t worry if you’re not a baking pro—this recipe includes clear, detailed instructions so you’ll be guided every step of the way. Let’s create some chocolate magic together!
Why You’ll Love This Recipe
– Two Desserts In One: Enjoy the best of both worlds with fudgy brownies and creamy mousse in every bite.
– Stunning Presentation: The beautiful layers make these brownies look bakery-worthy, perfect for impressing guests.
– Make-Ahead Friendly: Chill the brownies and mousse in advance, making them great for parties and busy schedules.
– Kid-Approved: The flavours and textures are a hit with kids and adults alike, making them a crowd-pleaser.
– Easy to Customize: Add your twist with chocolate chips, nuts, or a dusting of cocoa on top.
Chocolate Mousse Brownies
Description
If you’re searching for a dessert that combines the best of rich chocolate and creamy mousse, these Chocolate Mousse Brownies are about to become your new favourite. Imagine a fudgy, decadent brownie base topped with a silky, fluffy chocolate mousse—every bite is a perfect blend of textures and flavours.
Ingredients
For The Brownie Layer
For The Chocolate Mousse Layer
For Garnish (Optional)
Instructions
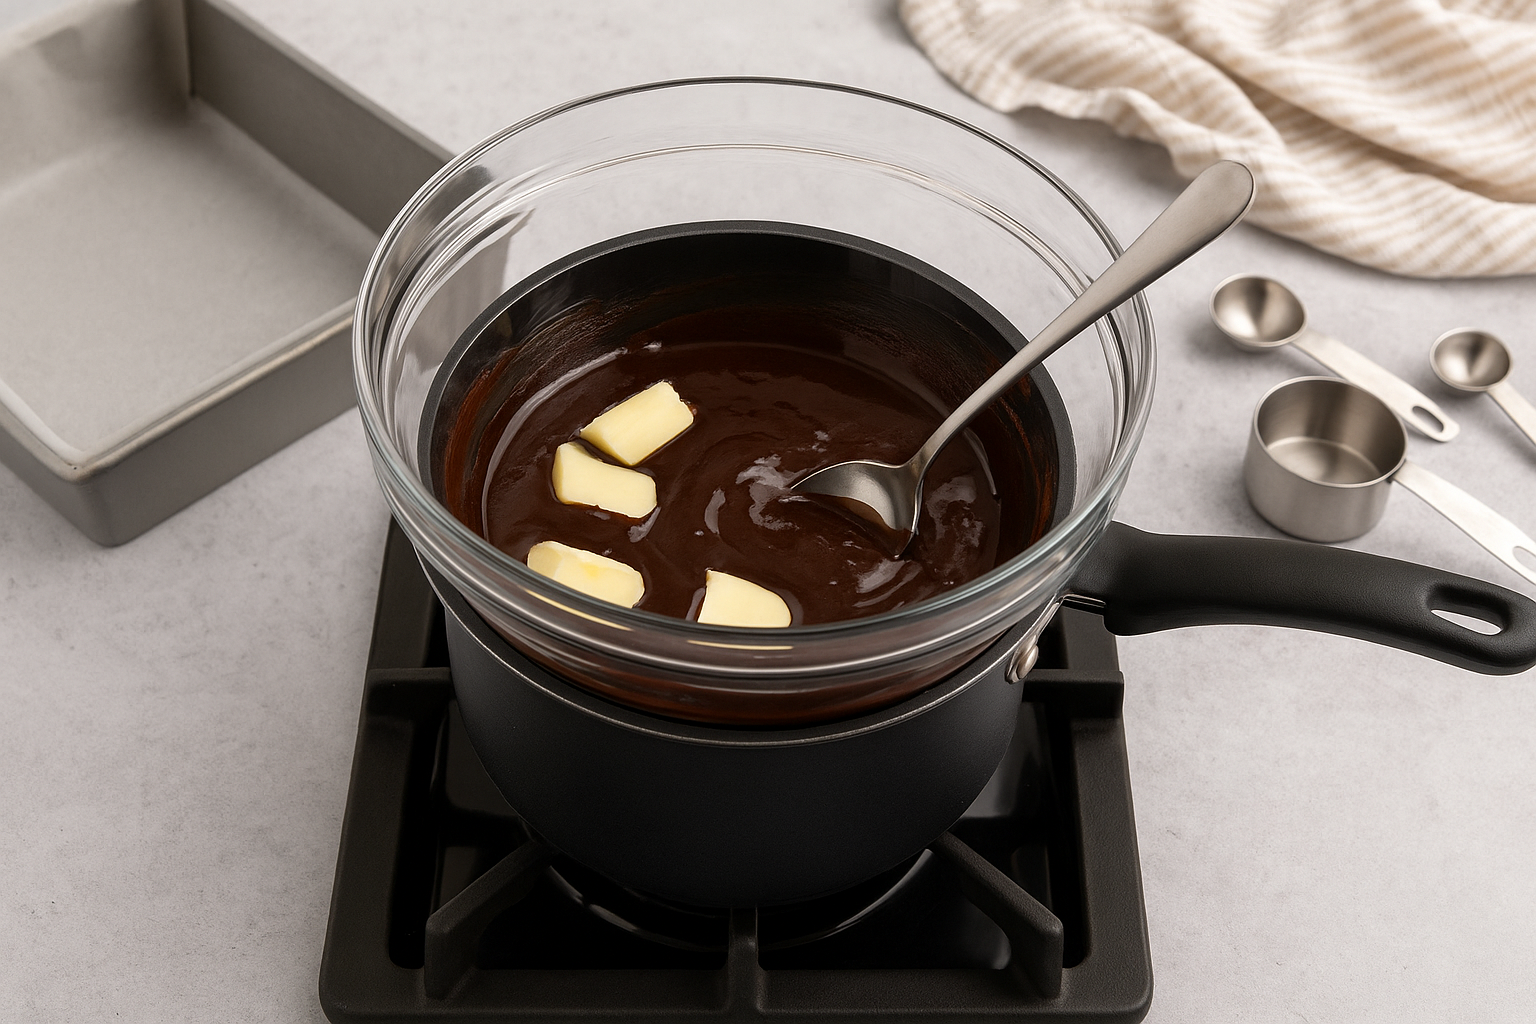
Melt Butter And Chocolate
Preheat your oven to 350°F (175°C). Line an 8-inch square baking pan with parchment paper, leaving an overhang on the sides. In a heatproof bowl set over a saucepan of gently simmering water (double boiler method), melt the unsalted butter and chopped semi-sweet chocolate together, stirring occasionally until smooth and glossy. Remove from heat and let cool slightly.

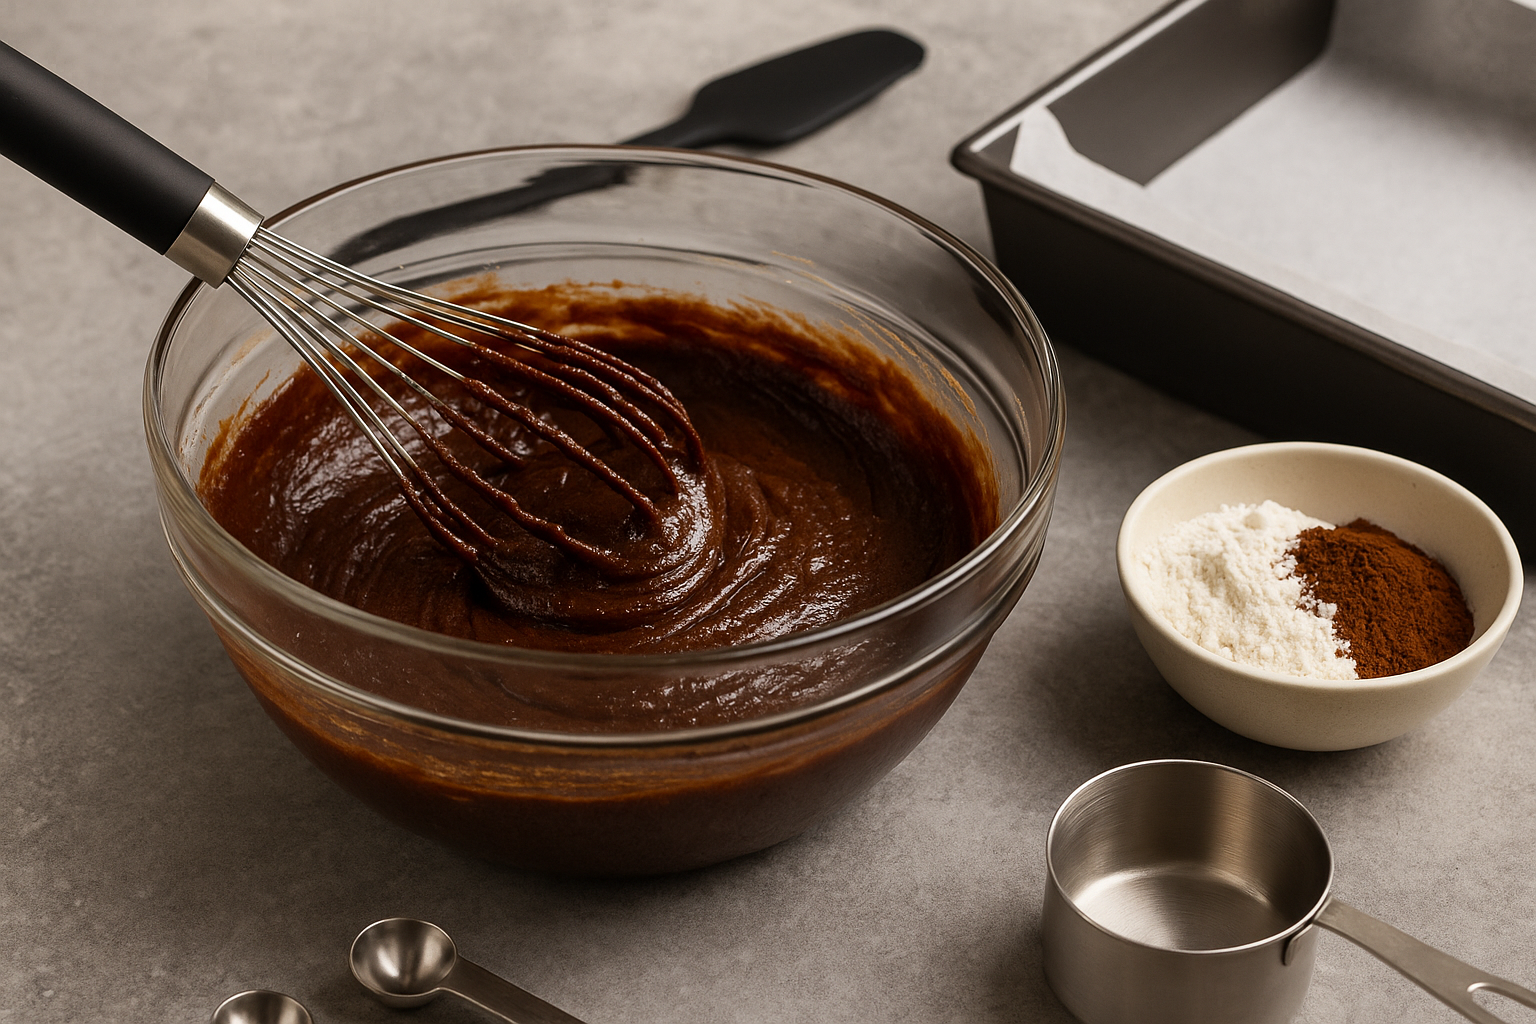
Mix Brownie Batter
Add granulated sugar and brown sugar to the melted chocolate mixture. Whisk until thoroughly combined. Add eggs, one at a time, whisking well after each addition. Stir in vanilla extract. Sift in all-purpose flour, unsweetened cocoa powder, and salt. Use a spatula to gently fold the dry ingredients into the wet mixture until just combined—do not overmix.
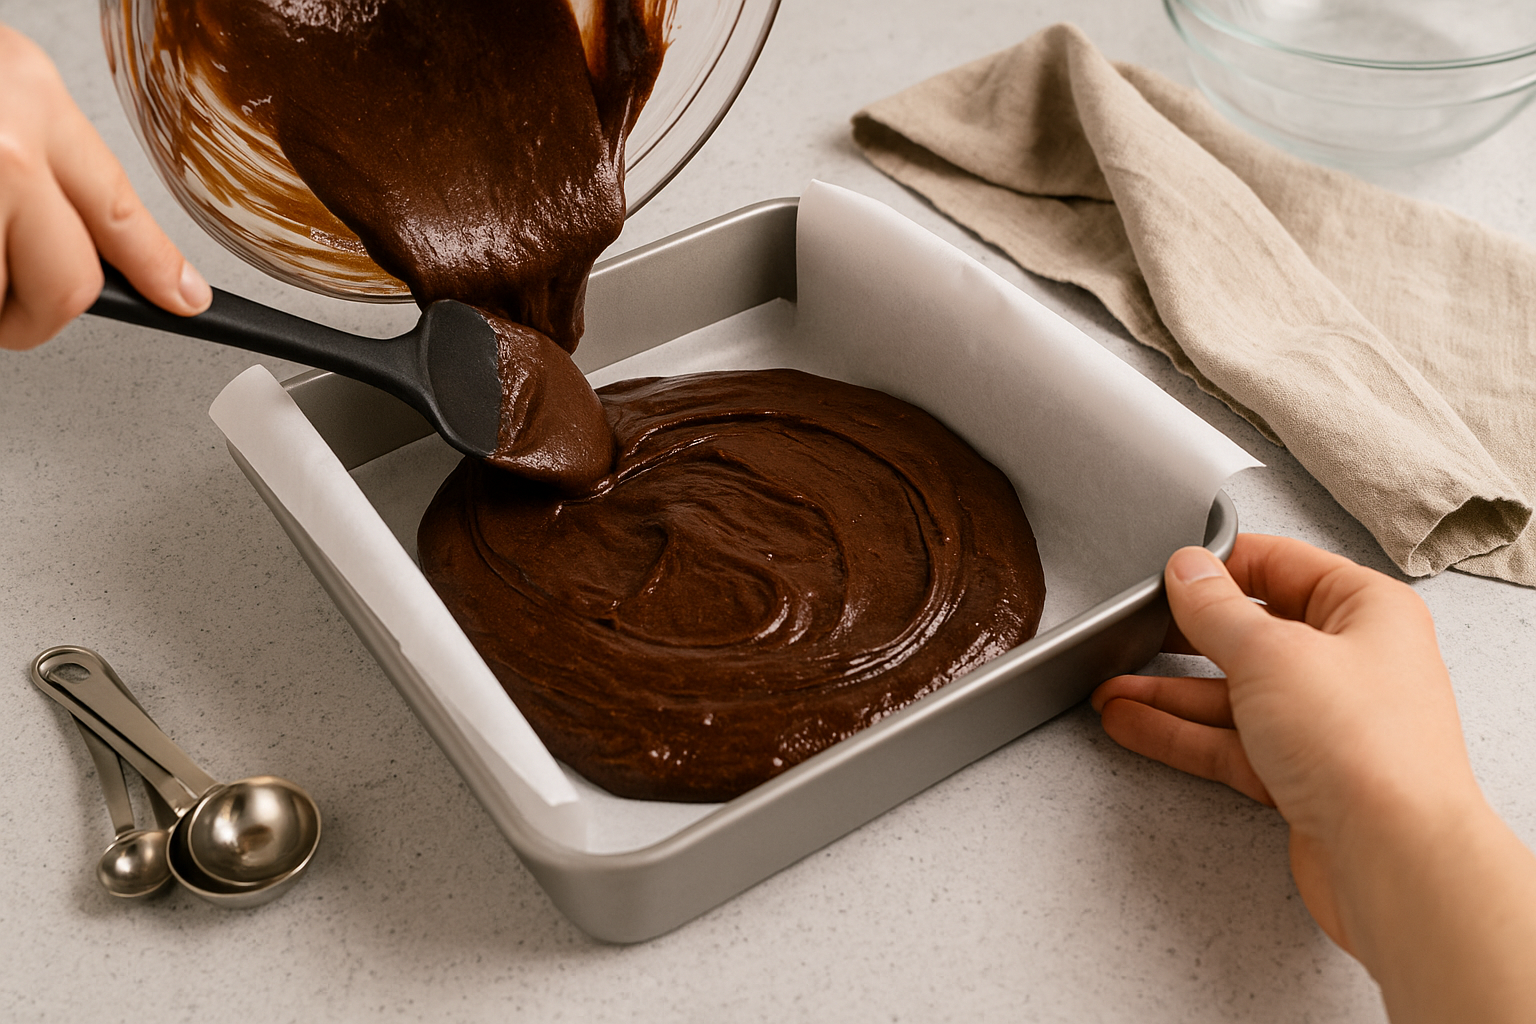
Spread The Brownie Batter
Pour the prepared brownie batter into the lined 8-inch square baking pan. Use a spatula to spread the batter evenly to the edges and smooth the top, ensuring the layer is uniform for even baking.
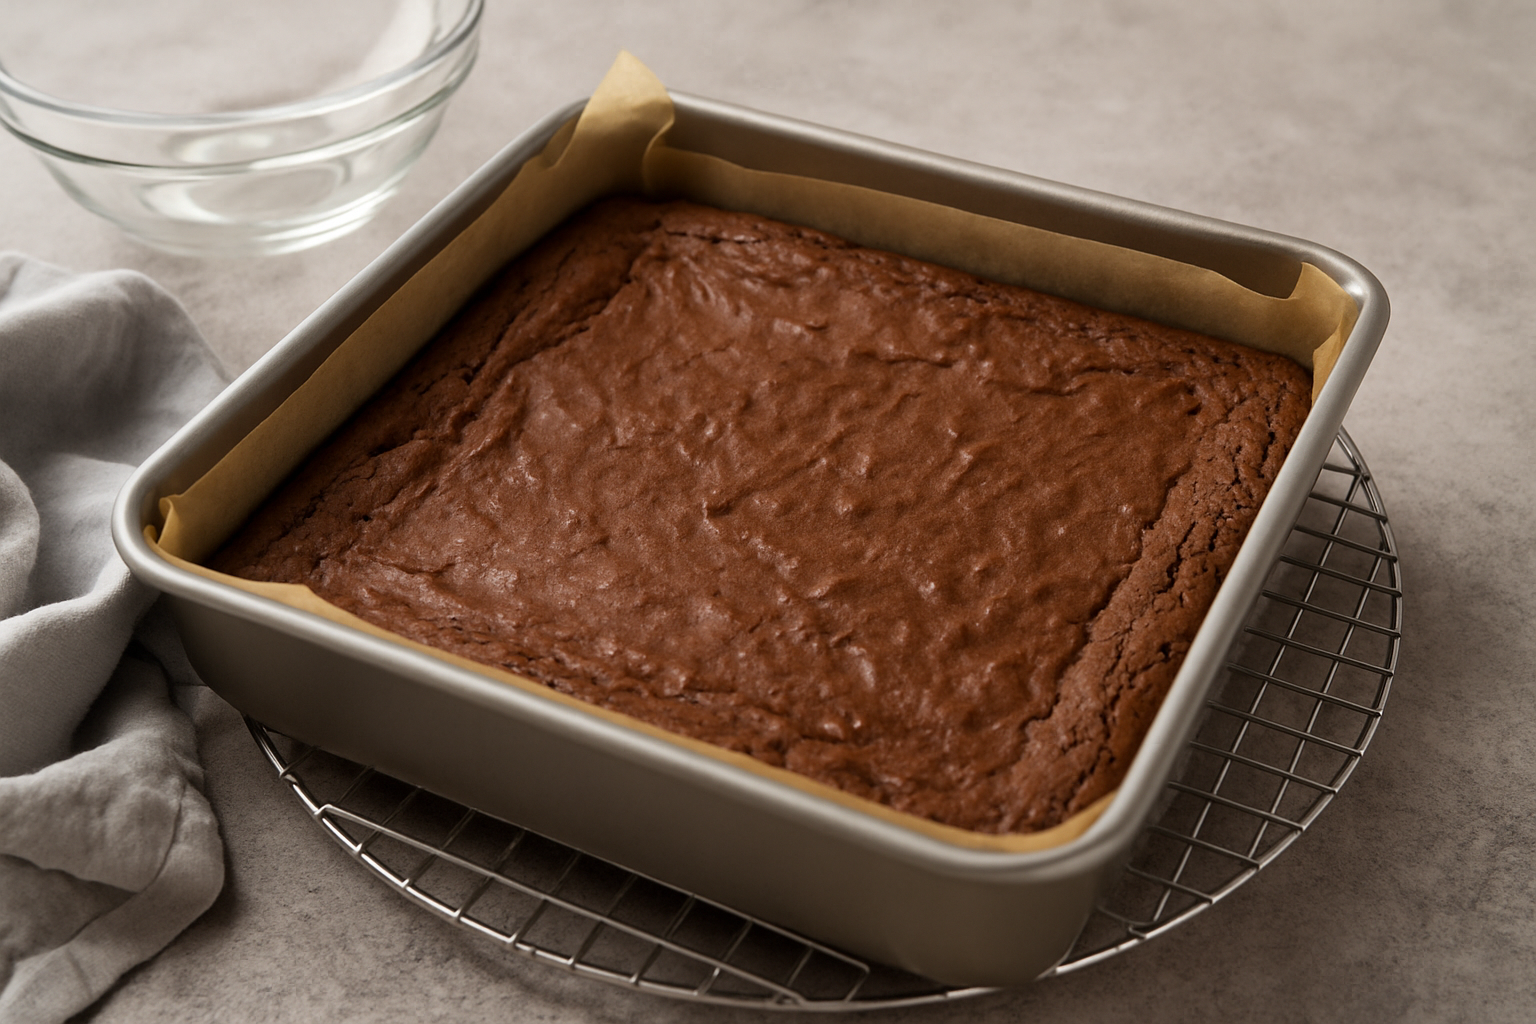
Bake And Cool The Brownie Layer
Place the pan in the preheated oven and bake for 30–35 minutes, or until a toothpick inserted into the centre comes out with a few moist crumbs (not wet batter). Remove the pan from the oven and set it on a wire rack. Let the brownies cool completely in the pan—this step is essential for the mousse layer to sit correctly.
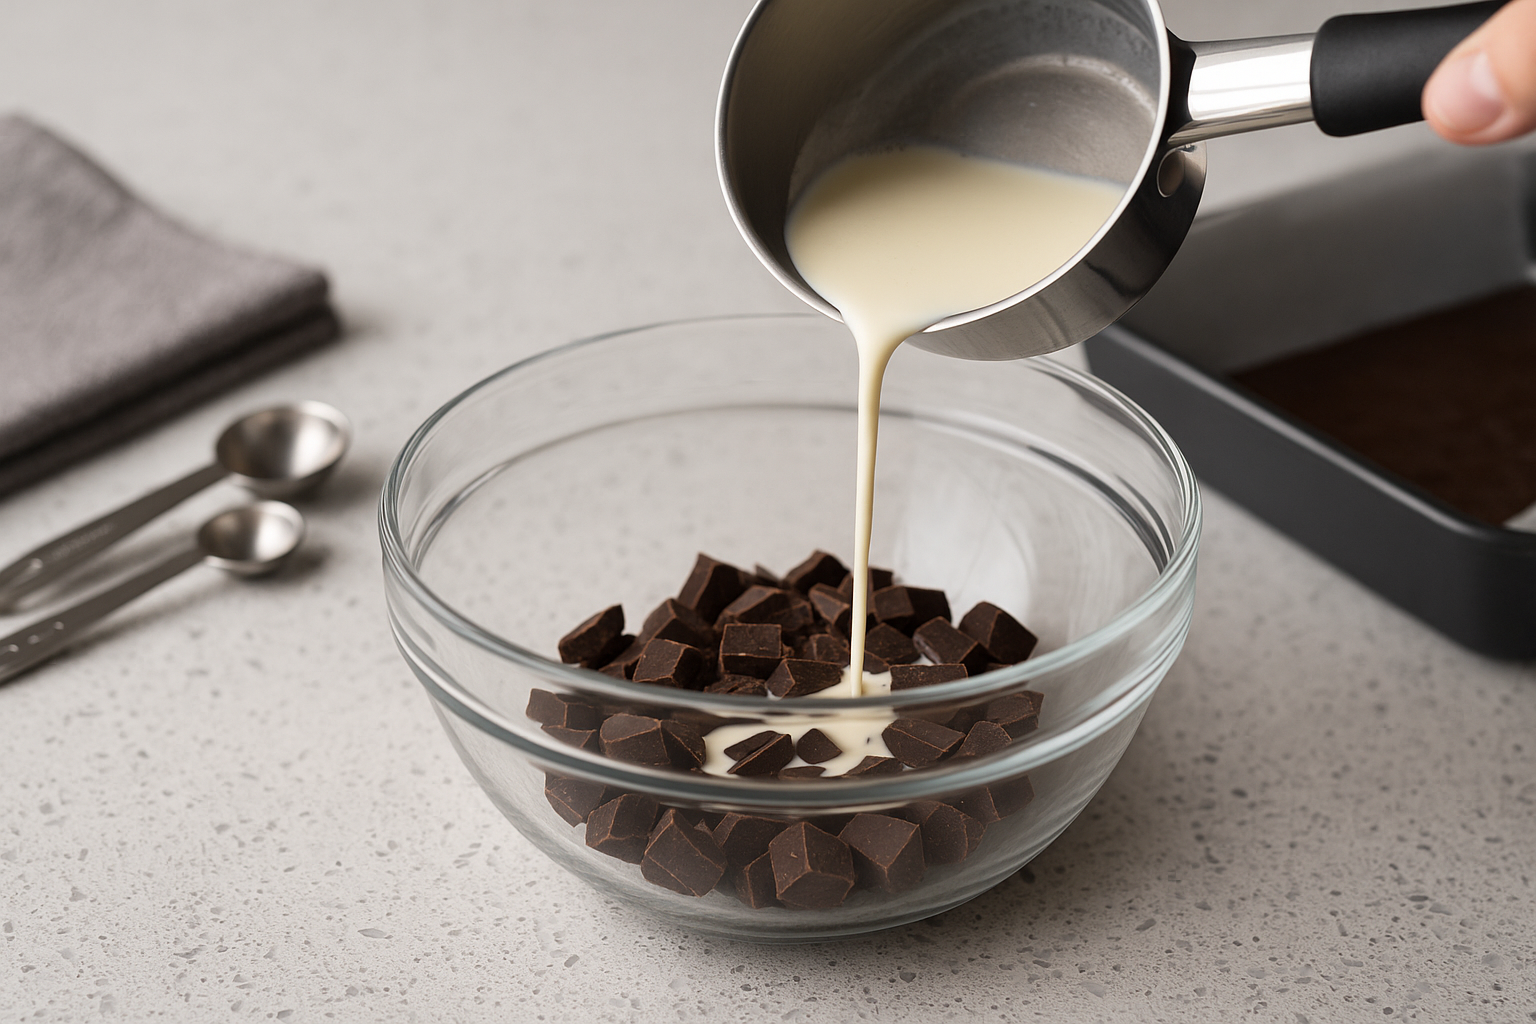
Prepare The Chocolate Mousse Layer
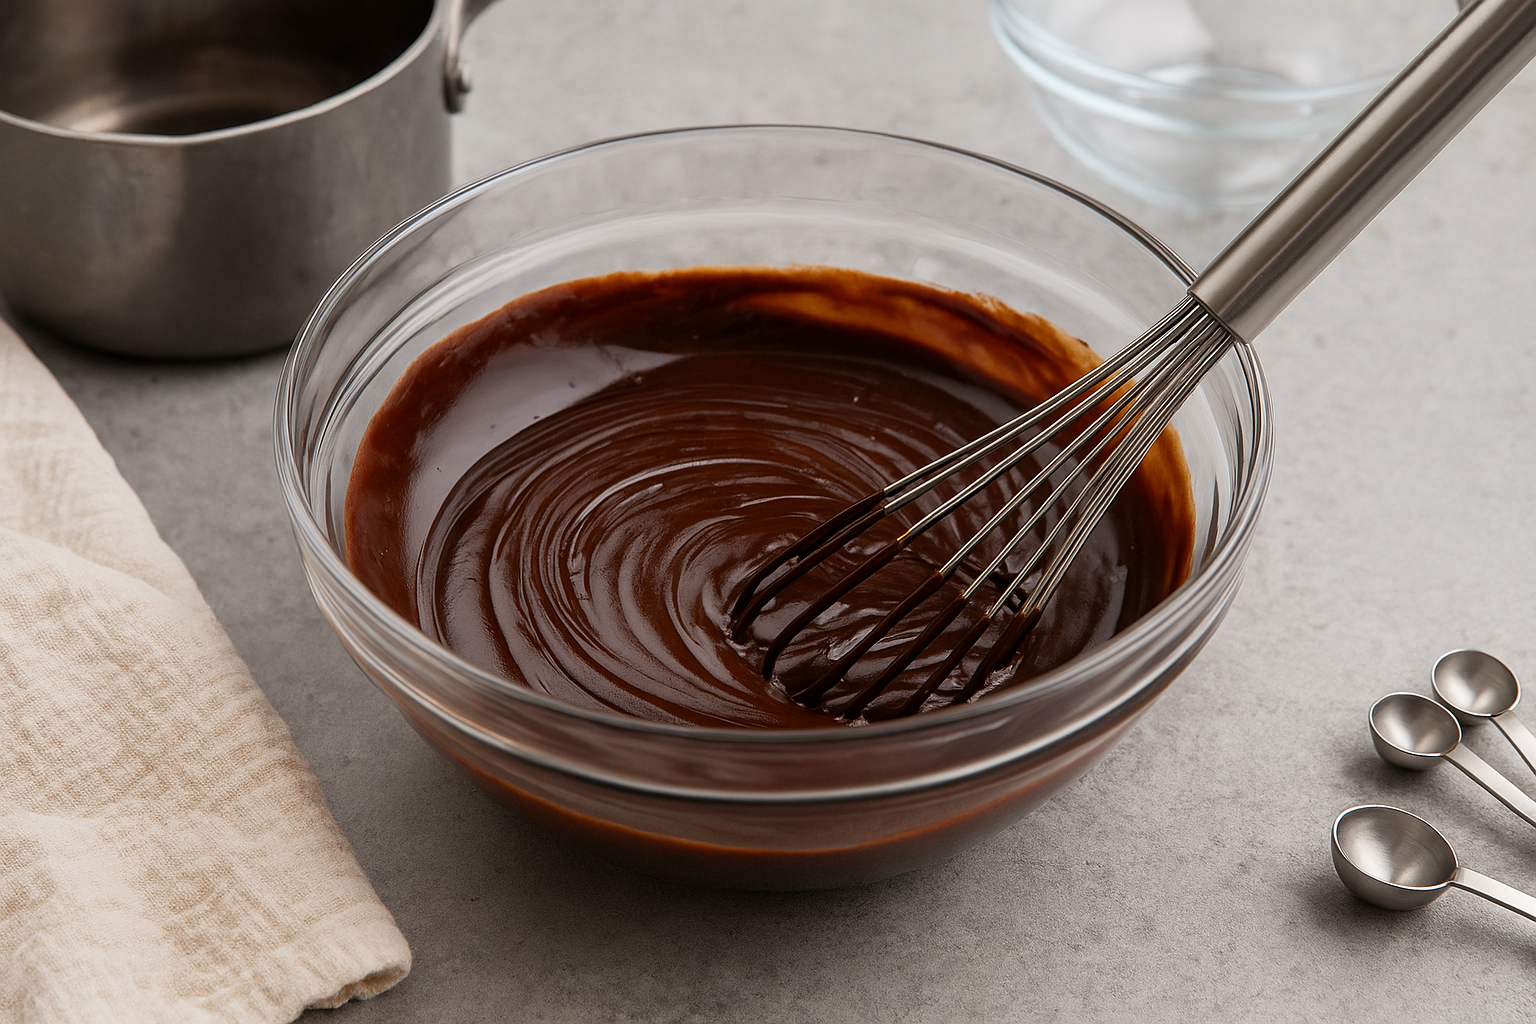
Place the chopped semi-sweet chocolate in a heatproof bowl. In a small saucepan, heat half of the heavy whipping cream (120 ml) over medium heat until it just begins to simmer (do not boil). Pour the hot cream over the chocolate and let it sit for 2 minutes to soften. Then, gently whisk until the chocolate is completely melted and the mixture is smooth. Allow this chocolate ganache to cool slightly to room temperature.
Whisk The Ganache
After the hot cream has sat on the chopped chocolate for 2 minutes, use a whisk to gently stir the mixture until the chocolate is completely melted and the ganache is smooth and shiny. Set the bowl aside and let the ganache cool to room temperature before continuing.
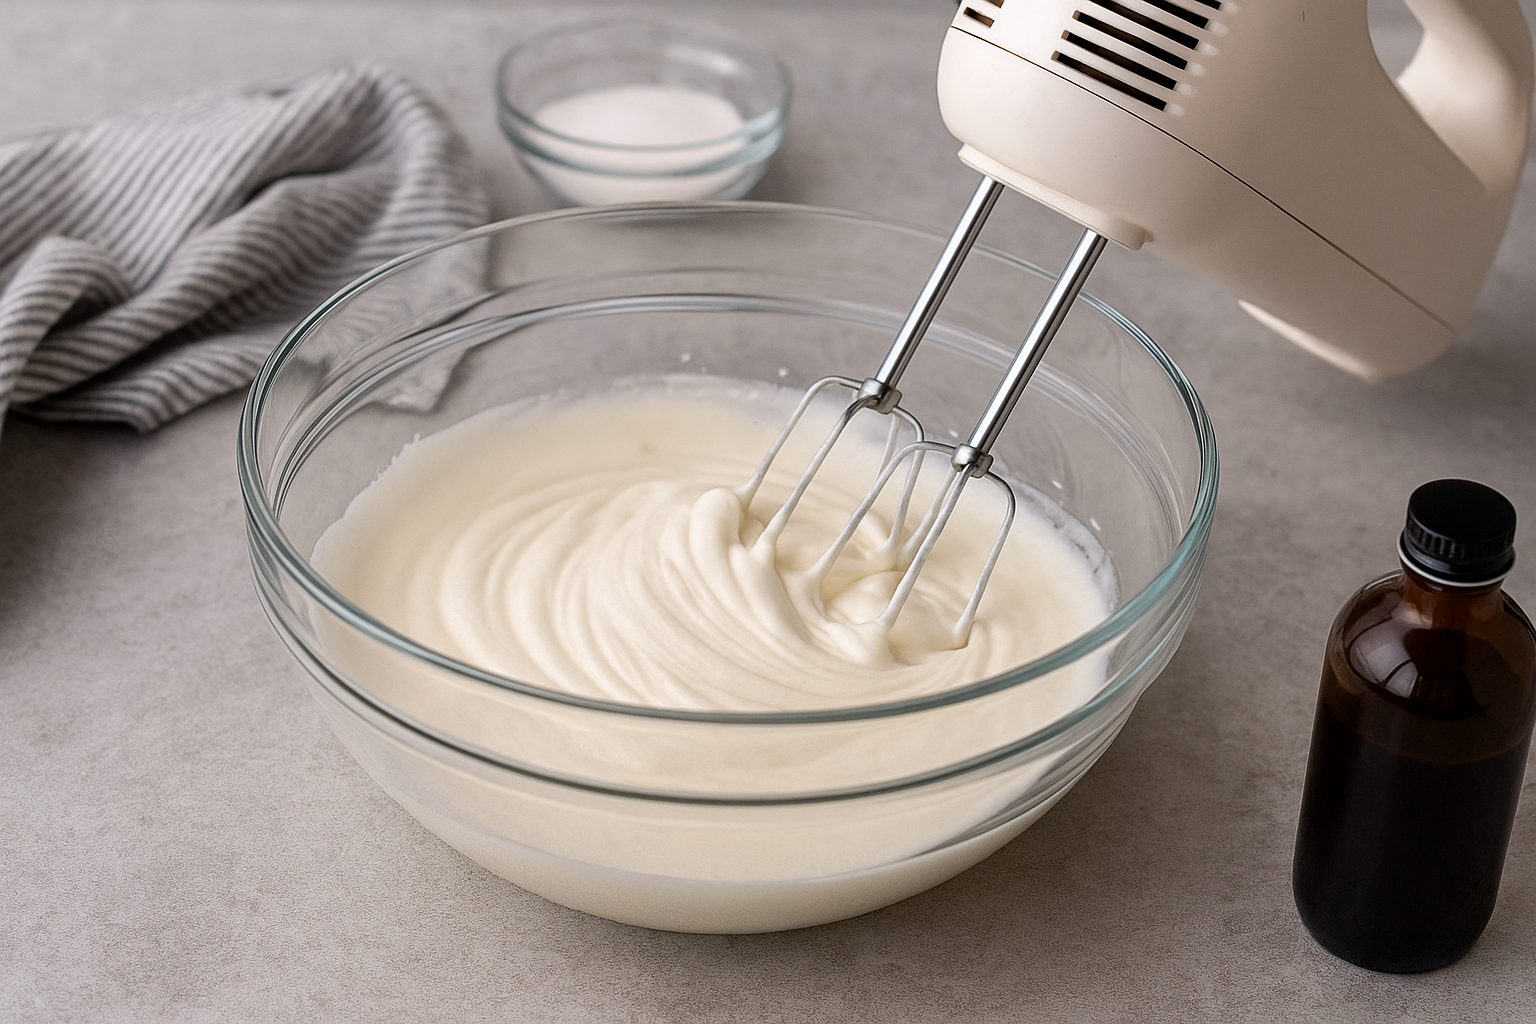
Whip The Cream
Pour the remaining heavy whipping cream (120 ml) into a chilled mixing bowl. Using a hand mixer or stand mixer fitted with the whisk attachment, beat the cream on medium-high speed until it starts to thicken. Add granulated sugar and vanilla extract, then continue whipping until medium-stiff peaks form—be careful not to overwhip. The cream should be fluffy but hold its shape.
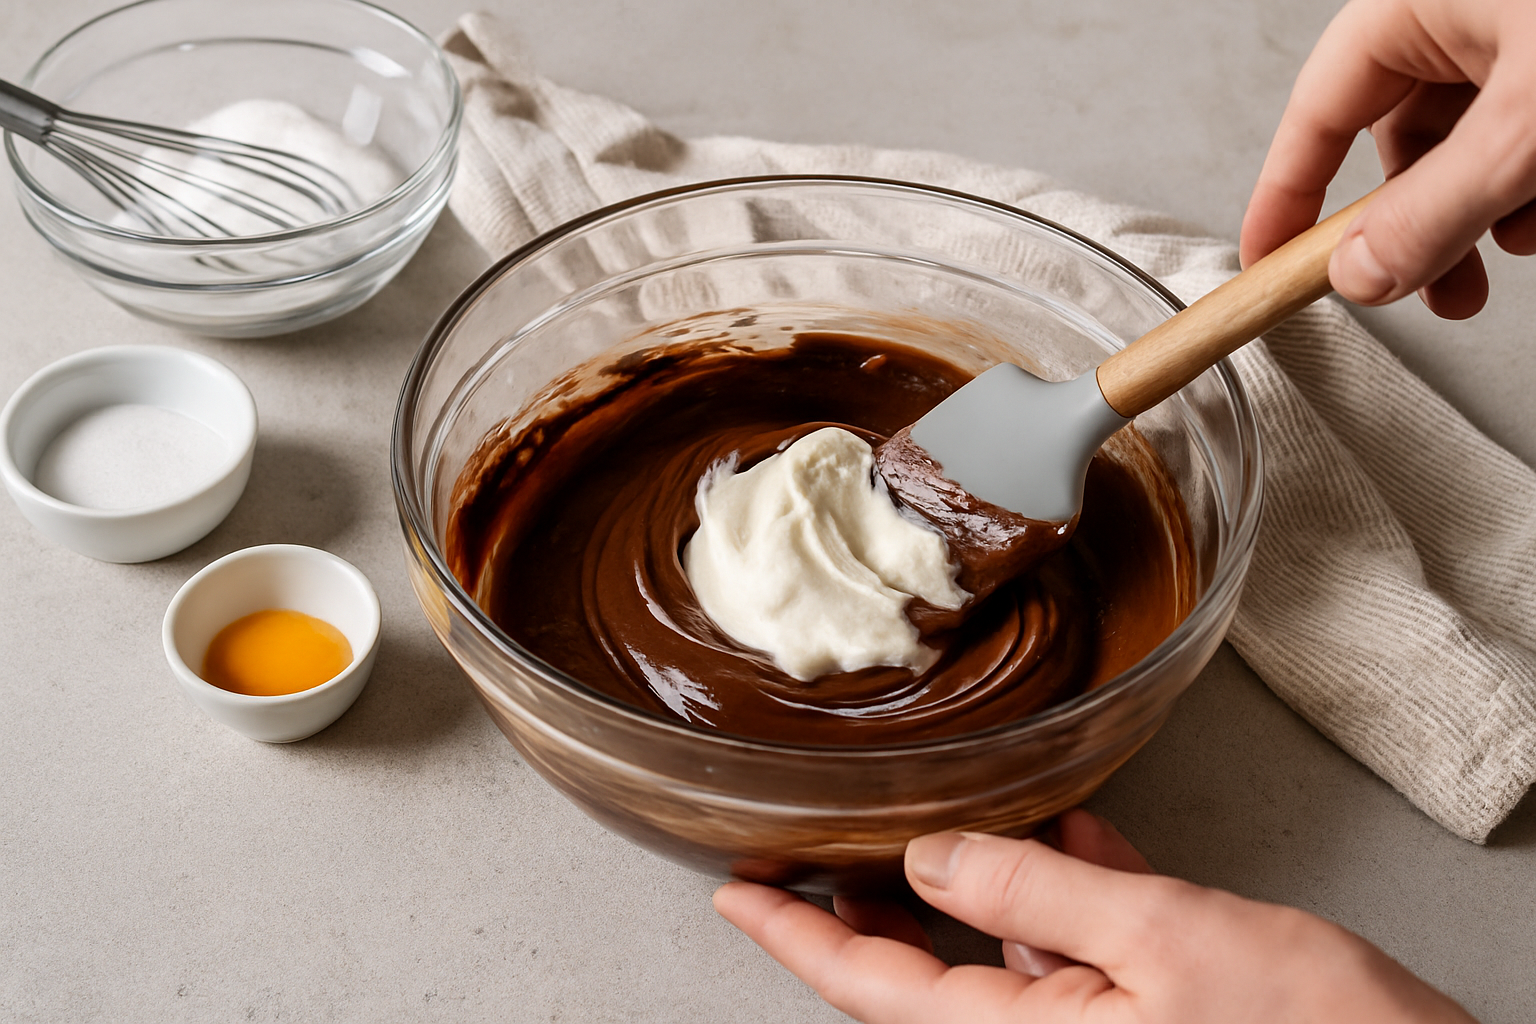
Finish The Chocolate Mousse
Once the chocolate ganache has cooled to room temperature, add the egg yolk and whisk until fully incorporated. Gently fold about one-third of the whipped cream into the ganache to lighten it. Then, carefully fold in the remaining whipped cream in two additions, using a spatula and making broad, gentle strokes. Continue folding until the mousse is smooth and thoroughly combined, being careful not to deflate the whipped cream.
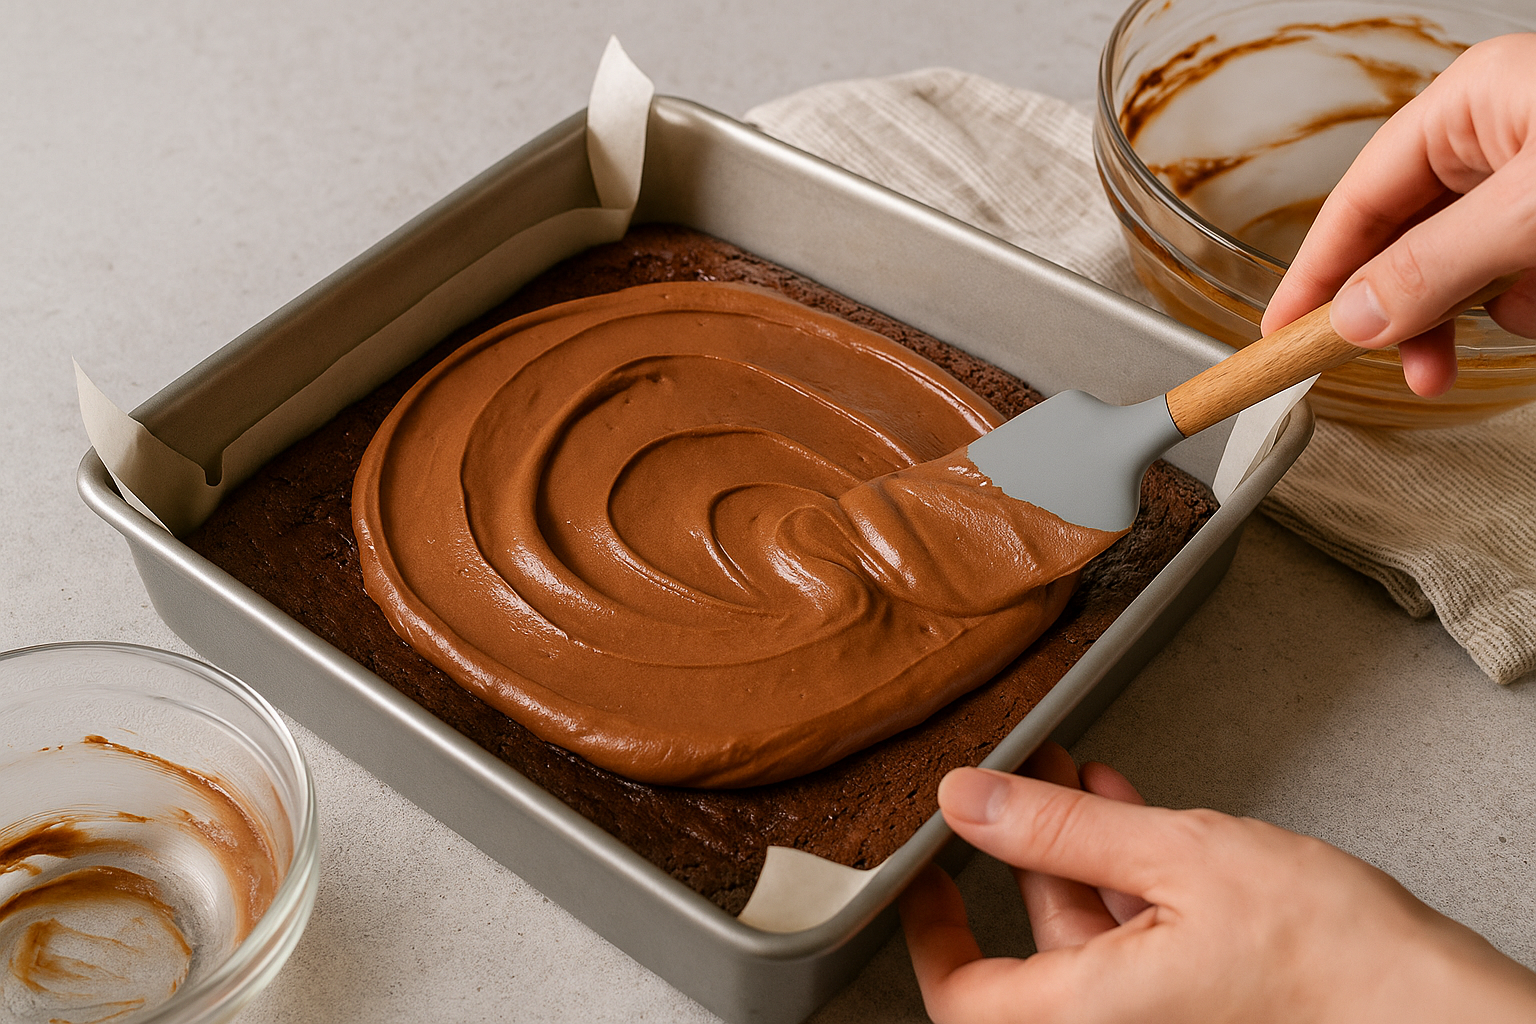
Assemble The Brownies
Once the brownie layer has completely cooled in the pan, gently spread the chocolate mousse evenly over the top using a spatula. Smooth the surface so the mousse layer is level and reaches all corners. Cover the pan tightly with plastic wrap and refrigerate for at least 2 hours, or until the mousse is set and firm to the touch.
Garnish, Slice, And Serve
Once the mousse is fully set, remove the pan from the refrigerator. Carefully lift the brownies out of the pan using the parchment handles and transfer them to a cutting board. Peel away the parchment and use a sharp knife to slice into squares, cleaning the knife between cuts for neat edges. Garnish each brownie with shaved chocolate, a dusting of cocoa powder, or fresh berries as desired. Serve chilled for best texture.
Nutrition Facts
Servings 12
- Amount Per Serving
- Calories 399.69kcal
- % Daily Value *
- Total Fat 26.98g42%
- Saturated Fat 16.09g81%
- Cholesterol 90.4mg31%
- Sodium 72.73mg4%
- Potassium 253.87mg8%
- Total Carbohydrate 36.65g13%
- Dietary Fiber 3.54g15%
- Sugars 26g
- Protein 4.84g10%
- Vitamin A 604.54 IU
- Calcium 49.07 mg
- Iron 2.7 mg
- Vitamin D 0.7 mcg
- Vitamin E 0.7 mg
- Vitamin K 3.57 mcg
- Thiamin 0.07 mg
- Riboflavin 0.14 mg
- Niacin 0.68 mg
- Vitamin B6 0.05 mg
- Folate 18.85 mcg
- Vitamin B12 0.2 mcg
- Pantothenic Acid 0.36 mg
- Phosphorus 137.13 mg
- Magnesium 68.69 mg
- Zinc 1.18 mg
- Selenium 8.92 mcg
- Copper 0.49 mg
- Manganese 0.54 mg
* Percent Daily Values are based on a 2,000 calorie diet. Your daily value may be higher or lower depending on your calorie needs.
Note
- Room Temperature Ingredients: For a smooth batter and mousse, use room temperature eggs, butter, and cream.
- Don’t Overbake: Bake until a toothpick comes out with moist crumbs—overbaking can lead to dry brownies.
- Egg Yolk In Mousse: The yolk helps create a silkier texture, but if you prefer, you can omit it for a lighter mousse (ensure you use pasteurised eggs if concerned about raw yolk).
- Clean Knife For Neat Slices: Wipe the knife clean between cuts for sharp, bakery-style brownie squares.
- Make Ahead: These brownies can be made a day in advance and stored, covered, in the fridge. They taste even better after chilling overnight!
- Add Crunch: Fold in chopped nuts or chocolate chips into the brownie batter before baking for extra texture.
- Substitute Chocolate: You can use bittersweet chocolate in place of semi-sweet for a richer, less sweet flavour.